Engine: TU5J2 (text is applicaple also to other 8 valve petrol TU-series engines)
To gain access to valve stem seals one must first remove the rocker shaft assembly and valve springs. In 8V Peugeot TU-engines, the rocker shaft is fixed to cylinder head by the head bolts. Loosening the head bolts is not a good idea, because the head gasket will almost certainly start to leak. I know of people who have brought their car to a generic mechanic who just goes straightforward and removes the head bolts and as a consequence car needs a new head gasket. Luckily there is another way to go, without touching the head bolts. By sliding the rocker shaft out of the way.
First, remove the pin bolt that holds the valve cover. Under that there is a small bolt (4mm hex), remove that too.
Remove the circlip from the other end of the shaft.
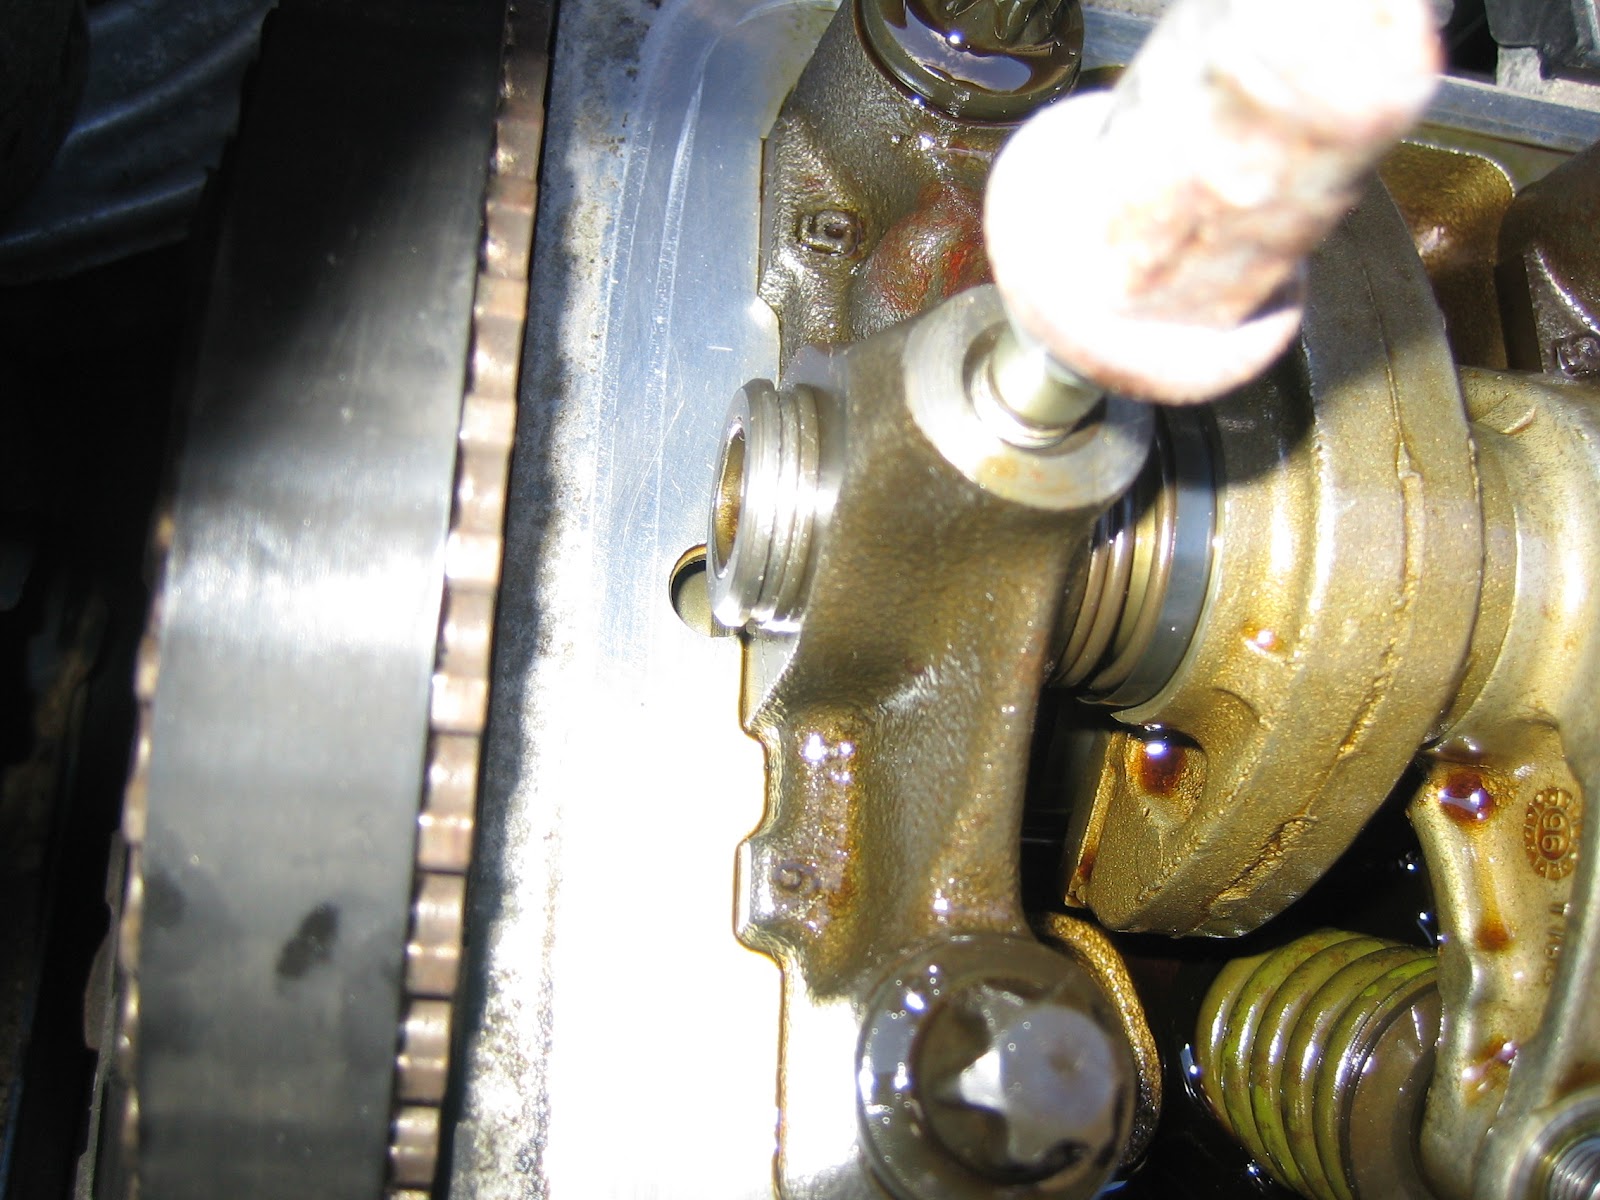
Now the shaft is free to move. Loosen the valve clearance adjusting screws to release pressure from the cam followers. Turn the engine so that the hole in the cam wheel is along the shaft axis. Gently tap the shaft from the other side.
Warning: the shaft is hollow, both ends closed by a thin steel cap. Make sure not to damage the endgaps when pushing the shaft. Here the first follower is about to go out from the cylinder #1 side:
Here's a close-up how the shaft slides through the cam wheel:
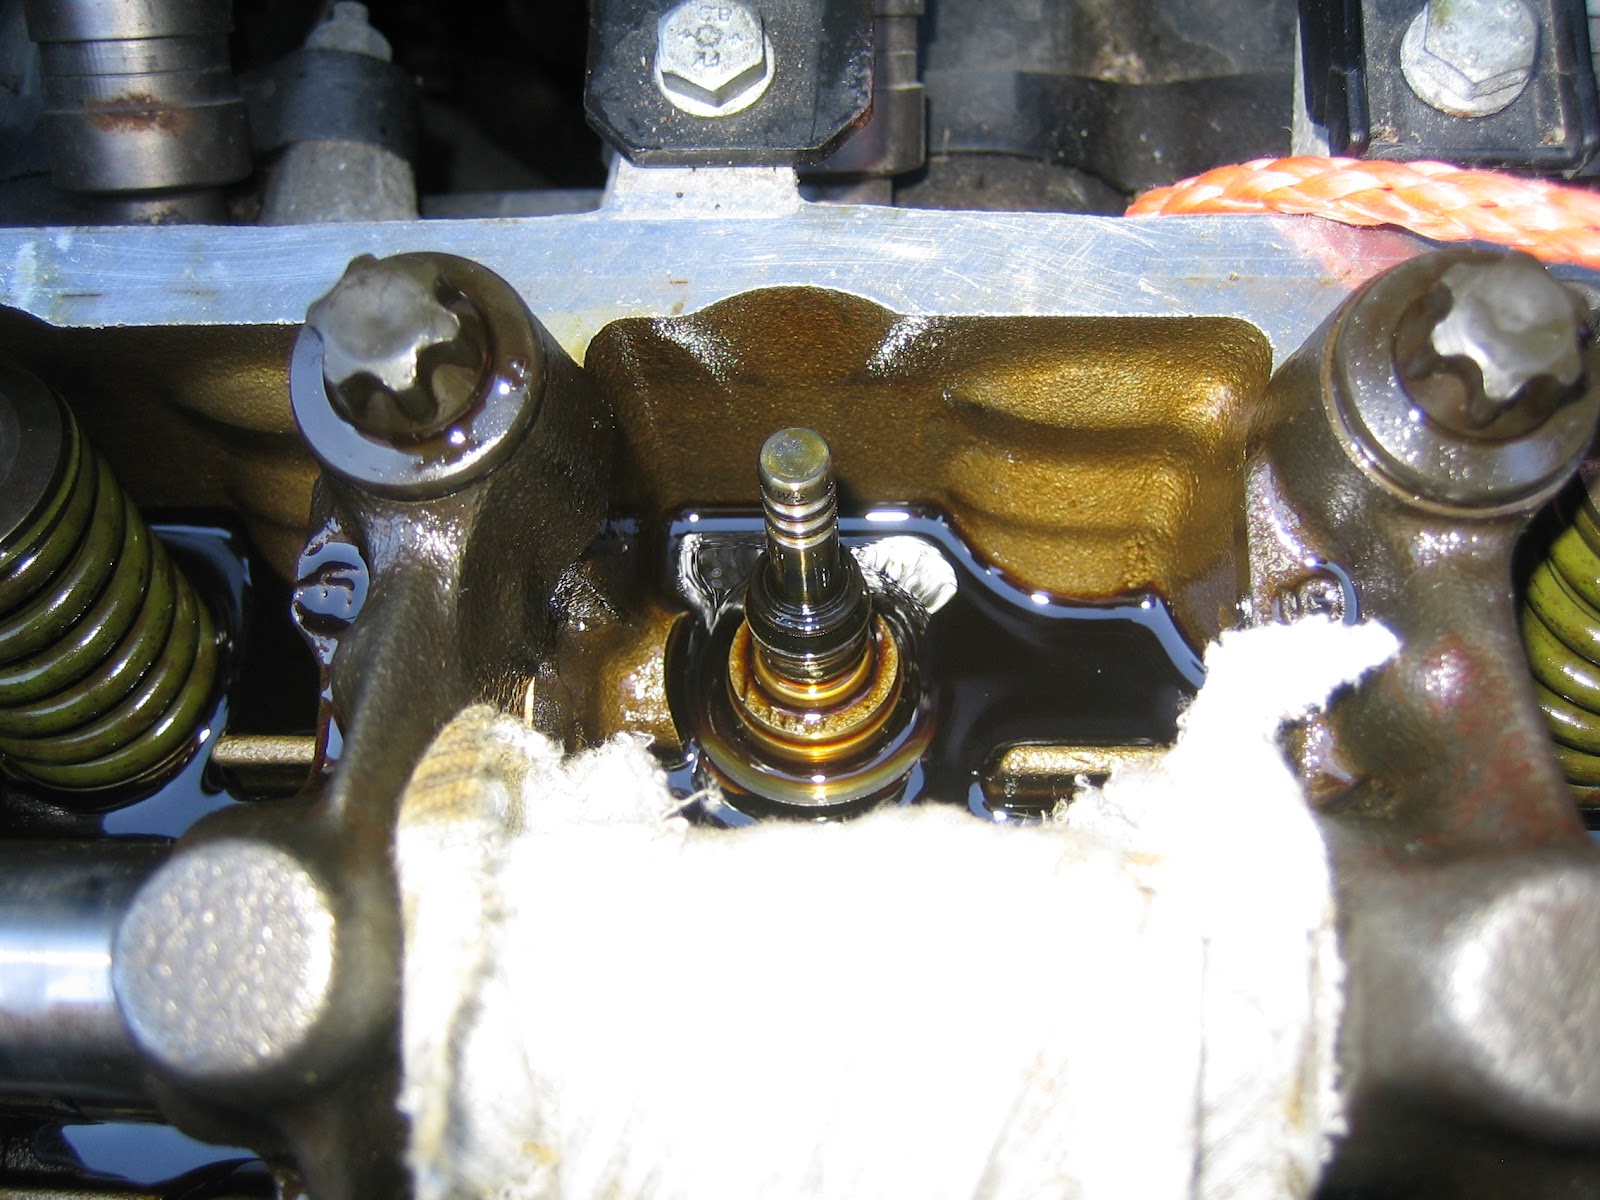
Now that the cam follower is out of the way, it's time to remove the valve springs. First must be ensured that the valves cannot fall down into the cylinder. I used a piece of rope and it worked just fine for me - low tech fool-proof kind of way. Pressurized air is also a possibility. You just need an air compressor and an adapter for the sparkplug hole. Valve spring tool is a must, I wouldn't even try without it. Luckily there exists cheap valve spring tools for weekend mechanics. Mine cost around 15e. Here the spring is removed and the old seal is visible:
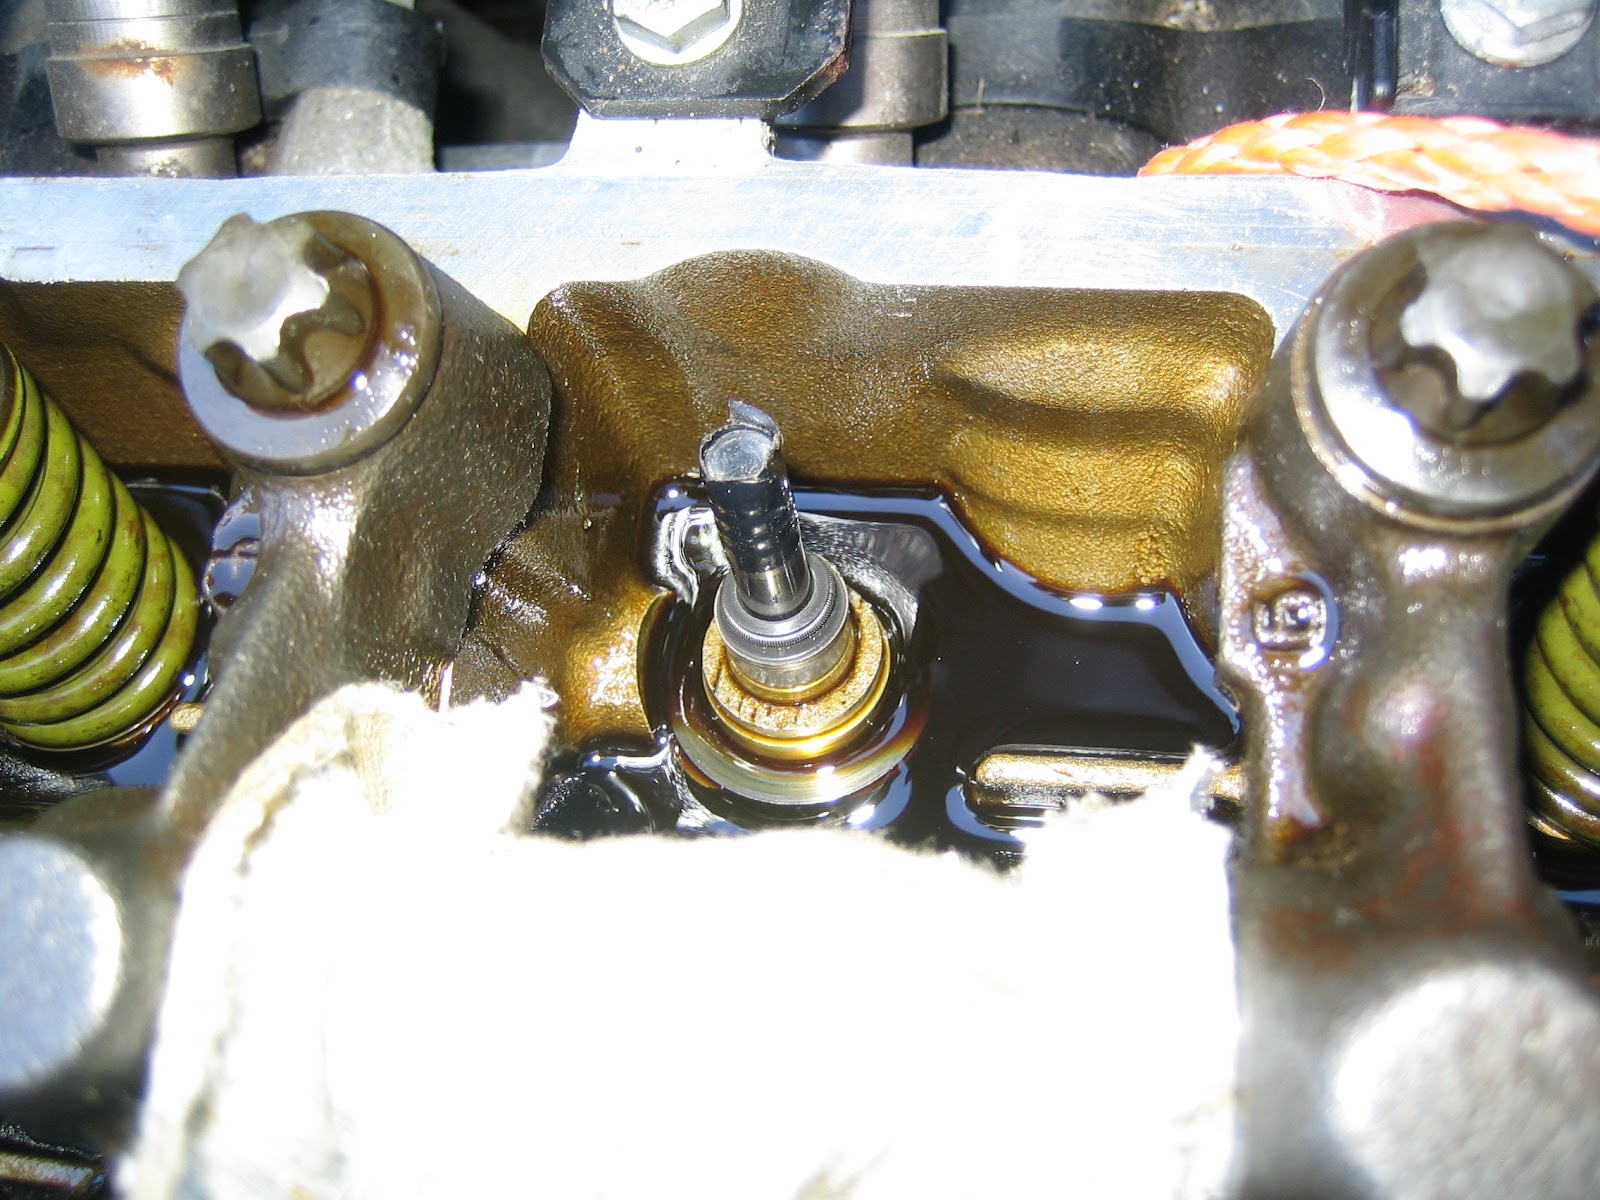
The seals were hardened and risen up a couple of millimeters. Put some tape to locking grooves on the valve stems to prevent scraping the new seals. I used a 11mm 1/4" socket (long one) to tap the new seal into place.
Don't scrape the stem in any time.
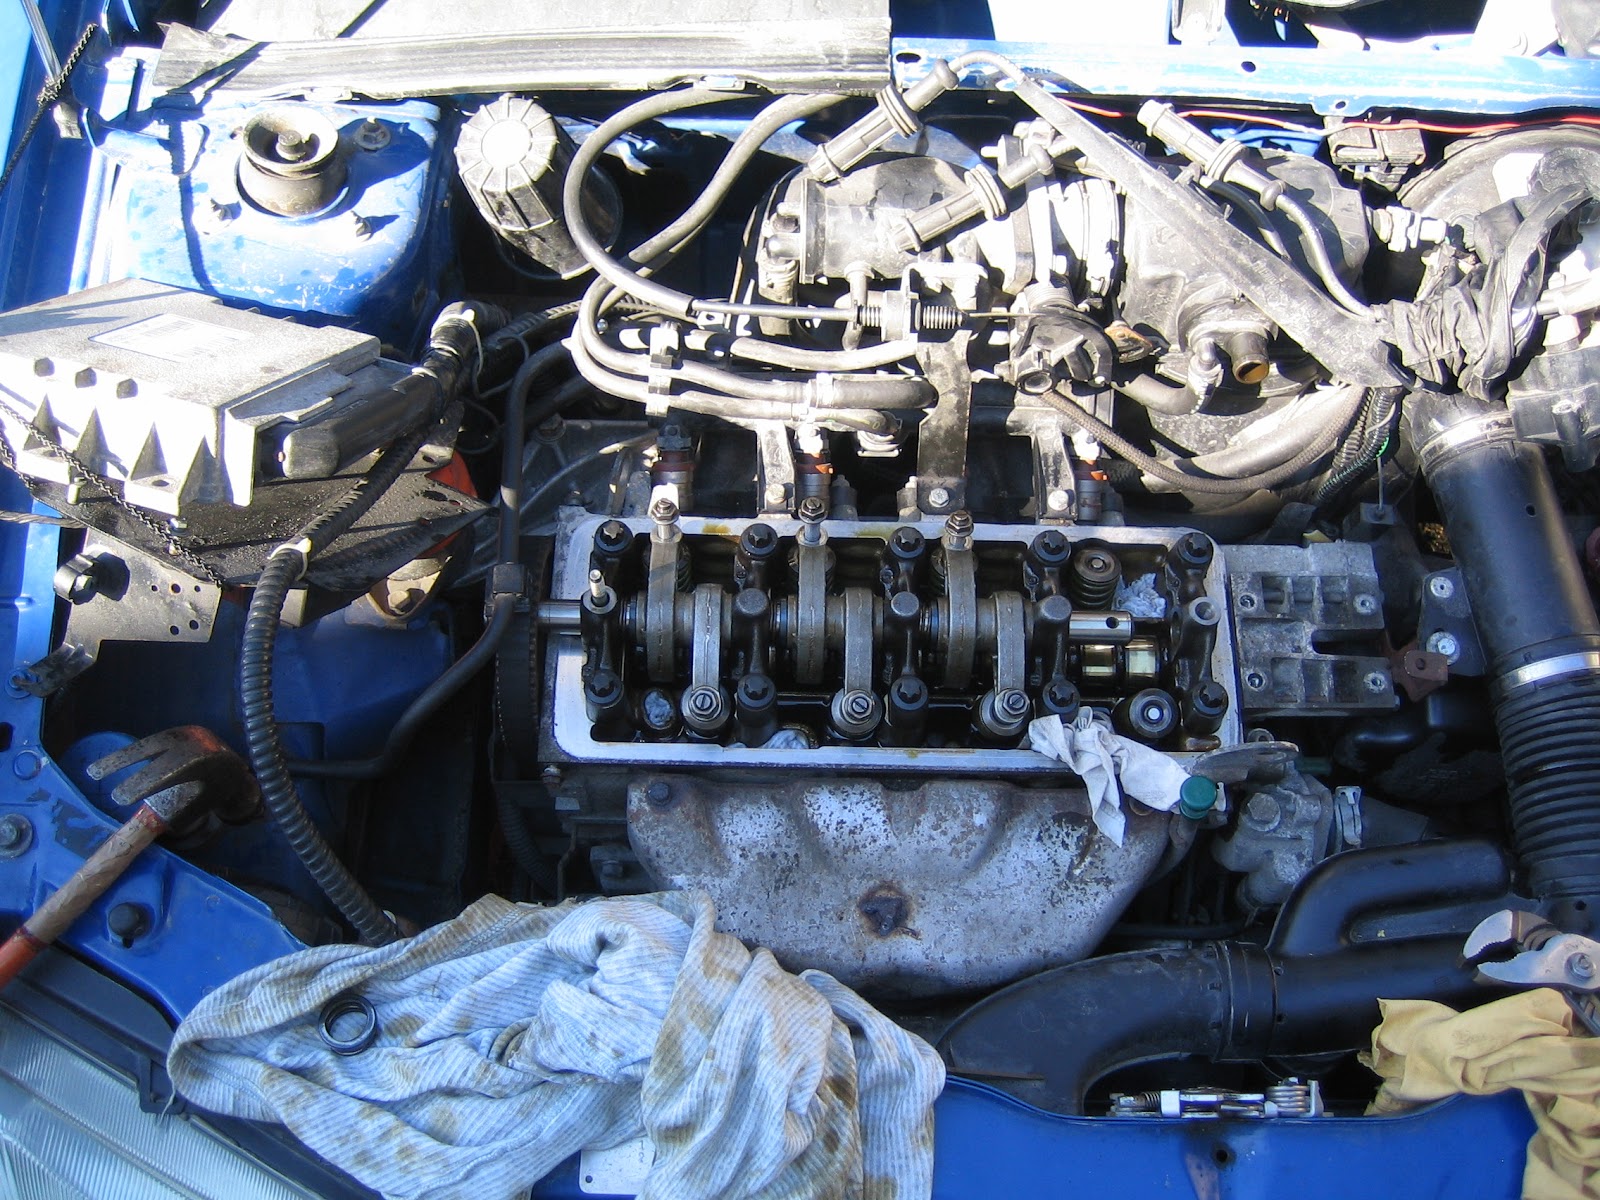
Go through all cylinders as shown above. Here's the job done, only the last cam followers have to be assembled, valve clearances adjusted, ECU and coil put to their place.
If you do it for the first time, take your time don't hassle.


Thanks a lot for this guide. Tried this successfully! This instruction saved a huge amount of time when comparing to the removal of the cylinder head, like for example Haynes, instructs to do.
VastaaPoistaThe use of a rope instead of pressurized air was a great idea for DIY mechanic!
thanks mate, but were i buy a valve spring tool?
VastaaPoistaMulla pyörähti akseli ja nyt ei tiedämiten päin sen pitäisi olla. Kuuluuko ne pitkittäiset kolot tulla alspäin,eli sileä puoli ylöspäin?
VastaaPoistaThank you very much !
VastaaPoistaExcellent !
My last would not come out? so I knocked back to the other side.
Maybe I was being too careful
http://i103.photobucket.com/albums/m147/liammcl_2006/valve%20stem%20seals%201%20sept%202013/PICT0037.jpg
Cheers
Liam
ps They all came out in the end :)
Poistahttp://i103.photobucket.com/albums/m147/liammcl_2006/valve%20stem%20seals%201%20sept%202013/PICT0047.jpg
I tried this and it worked perfectly on a Citroen Xsara TU3JP engine 1.4i
VastaaPoistaThe only different thing that shaft have to be slid out through the transmission end since between cam wheel and strut support together with engine top mounting there is not enough space to slide it out from that end
VastaaPoistaHi, great guide. Will surely try this out because my seals most likely are worn. 1 question, why do you use the rope exactly and where did you tighten it please? I never dine this before so have no idea what you did with it? Did you just jnsert it instead of the spark plug? Thanks
VastaaPoista